PROJECT DETAILS
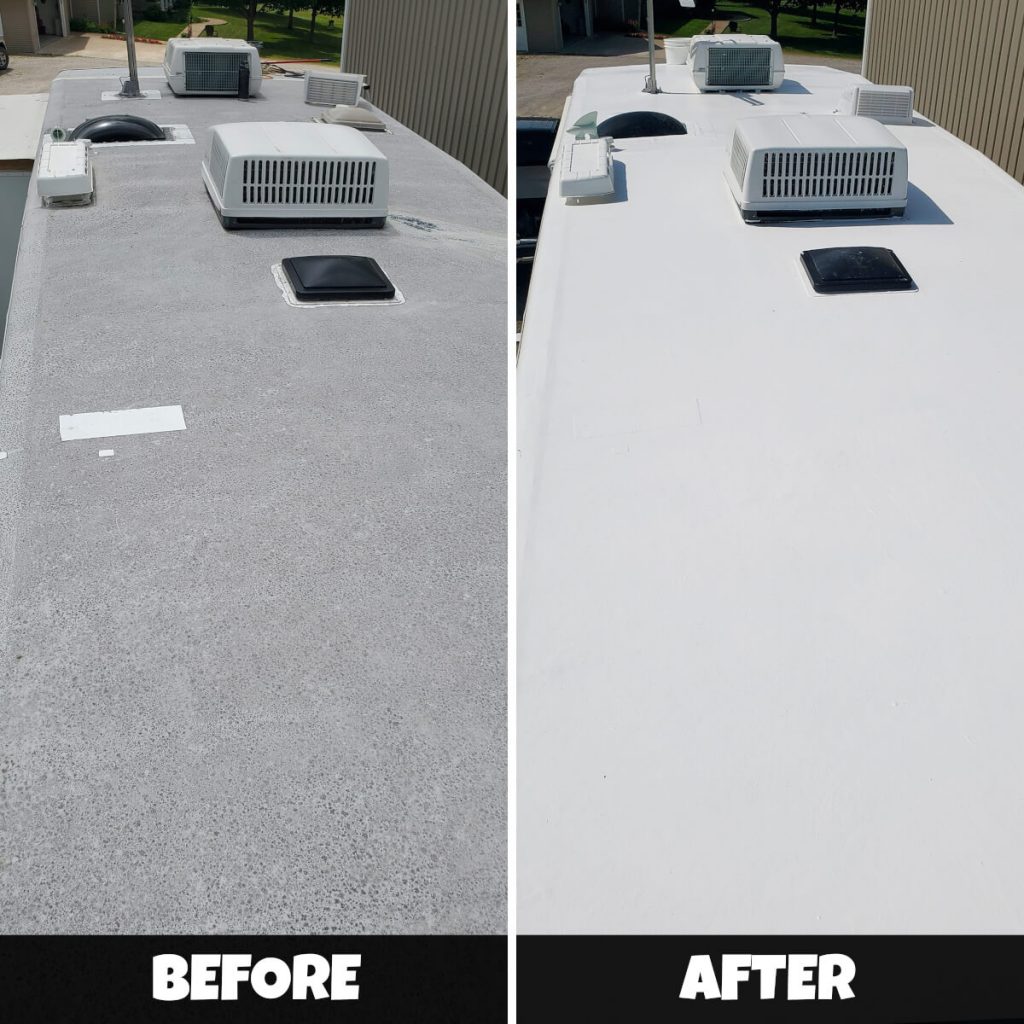
Project Type: RV Roof – DIY Installation
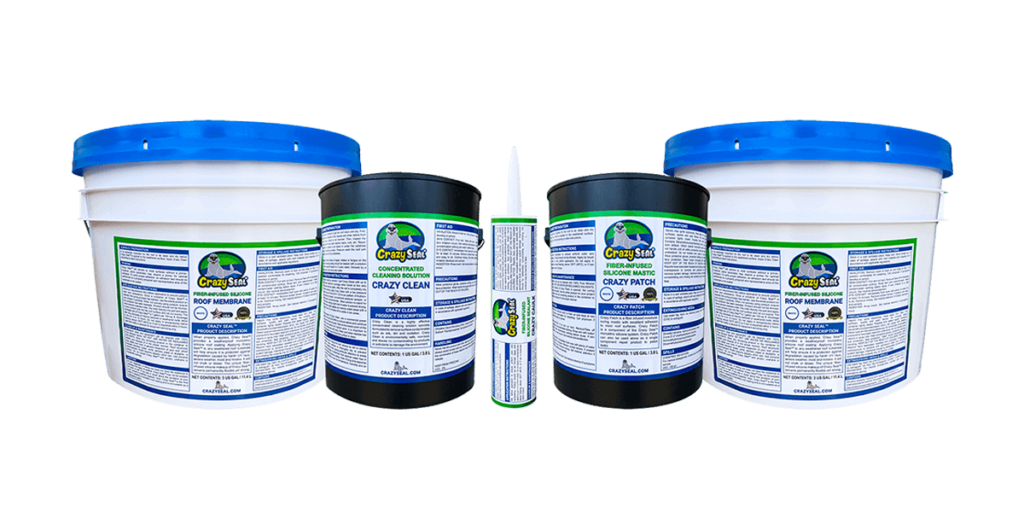
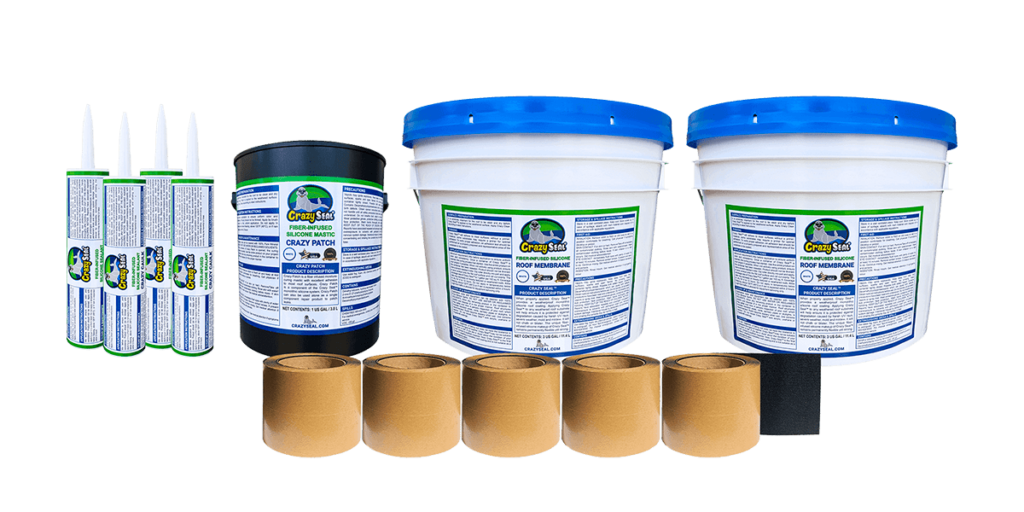
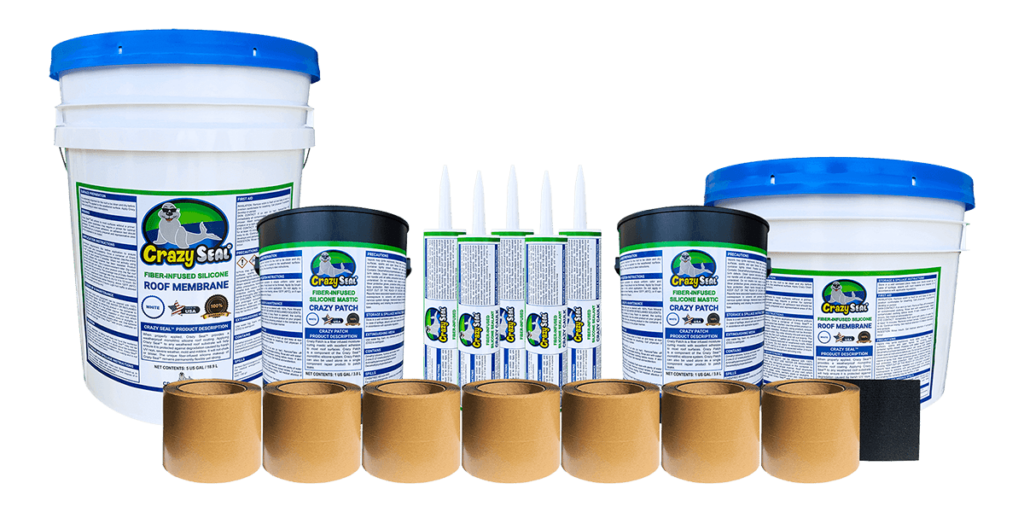
Products Used: Crazy Seal Double Layer Kit
Customer Type: DIY Install
Location: Idaho
“The application instructions, both the PDFs and videos, were clear and in a progression that made sense.” - Gary
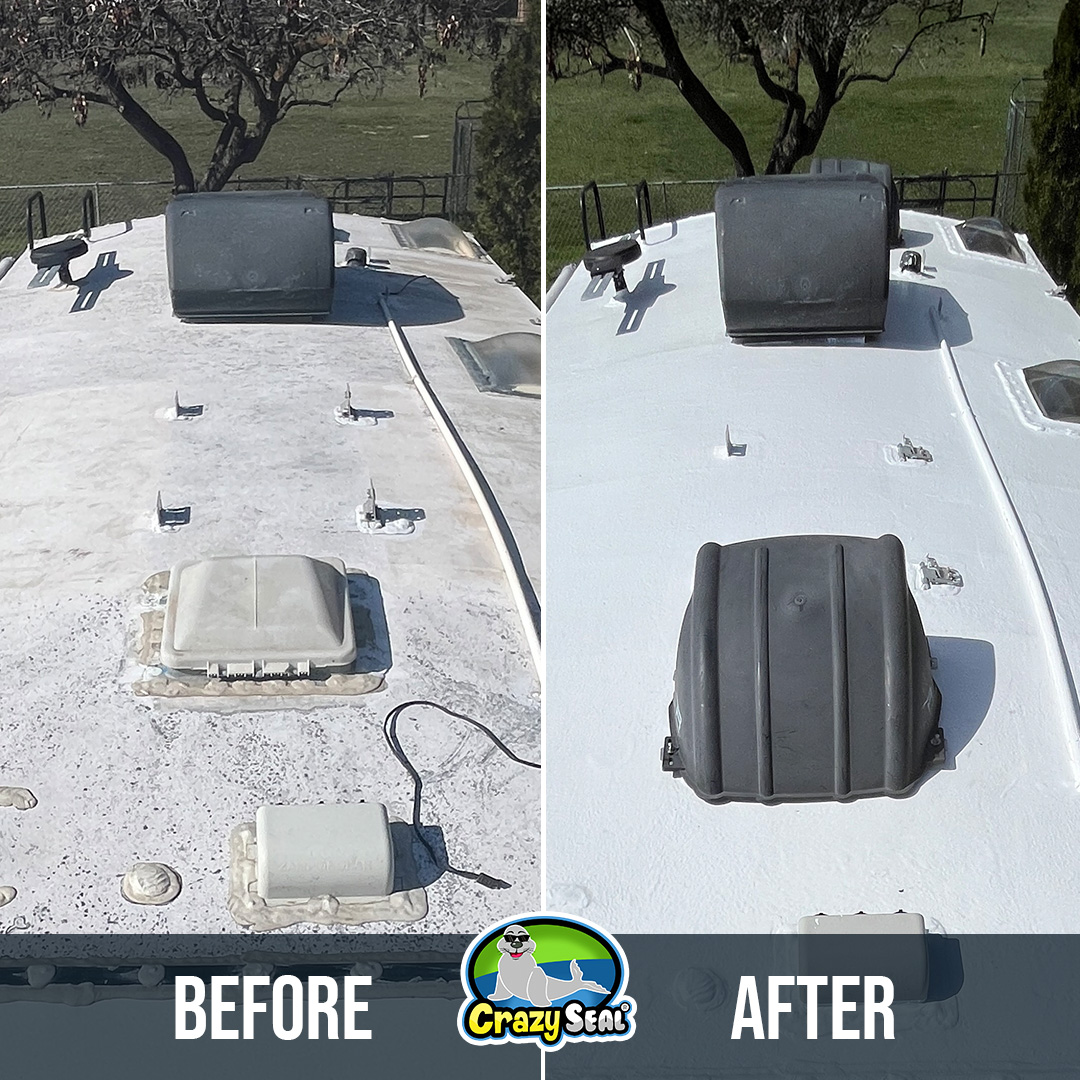
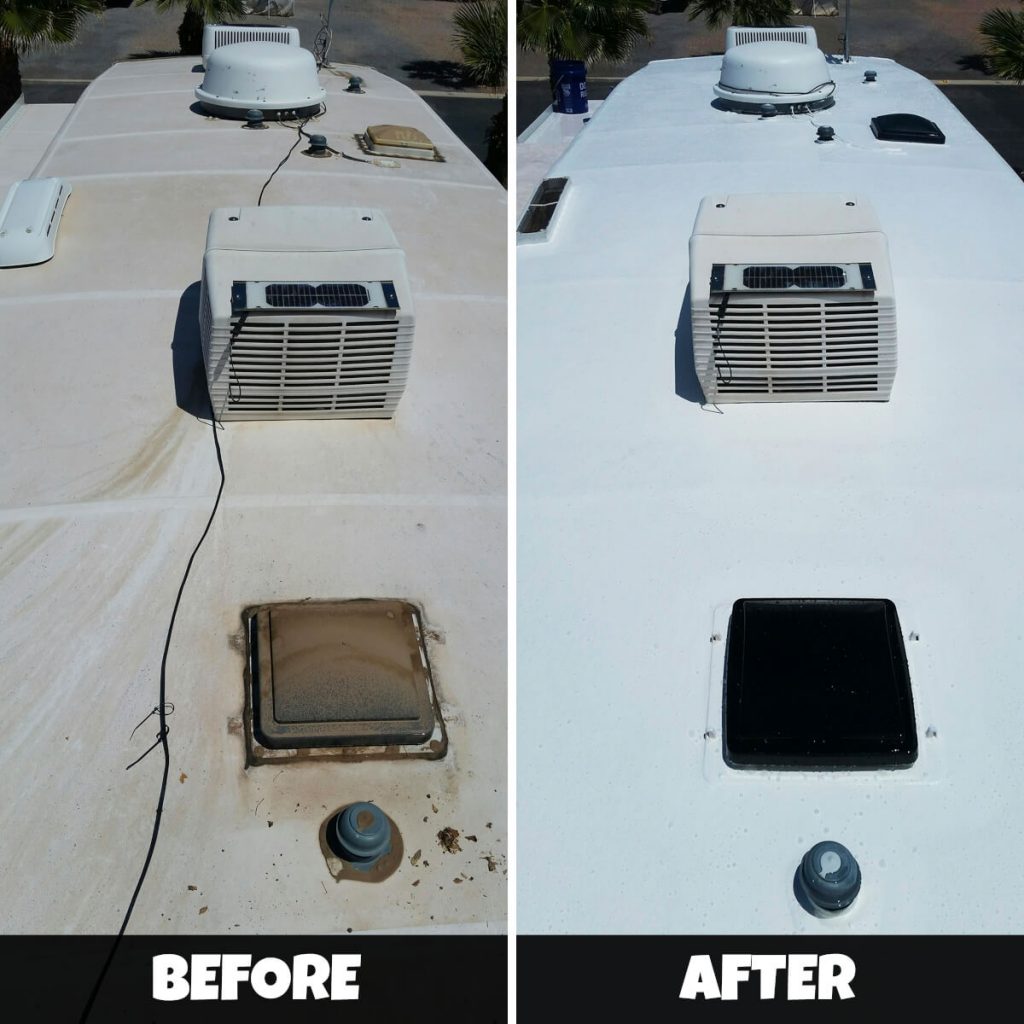
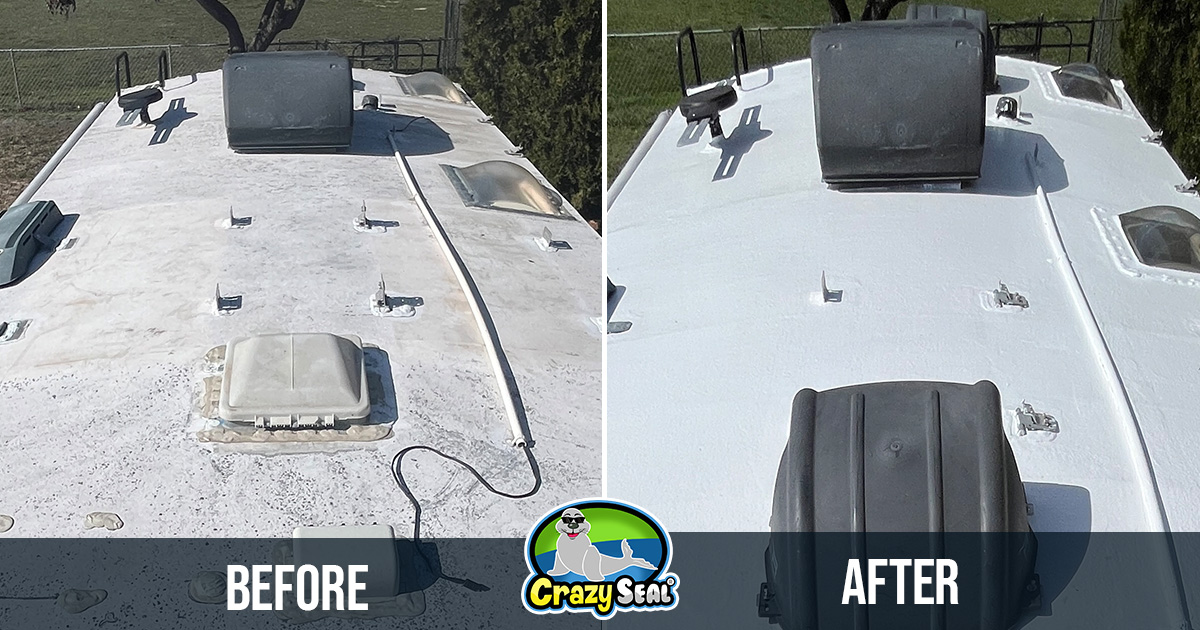
Project Spotlight: From Instruction to Installation – Gary’s DIY RV Roof Transformation
Turning Knowledge into a Watertight Seal
Gary didn’t just take on a roof restoration—he took on a full Crazy Seal experience from start to finish. When it came time to restore his RV roof, he leaned into the clarity of our system and followed every step with care.
“The application instructions, both the PDFs and videos, were clear and in a progression that made sense.”
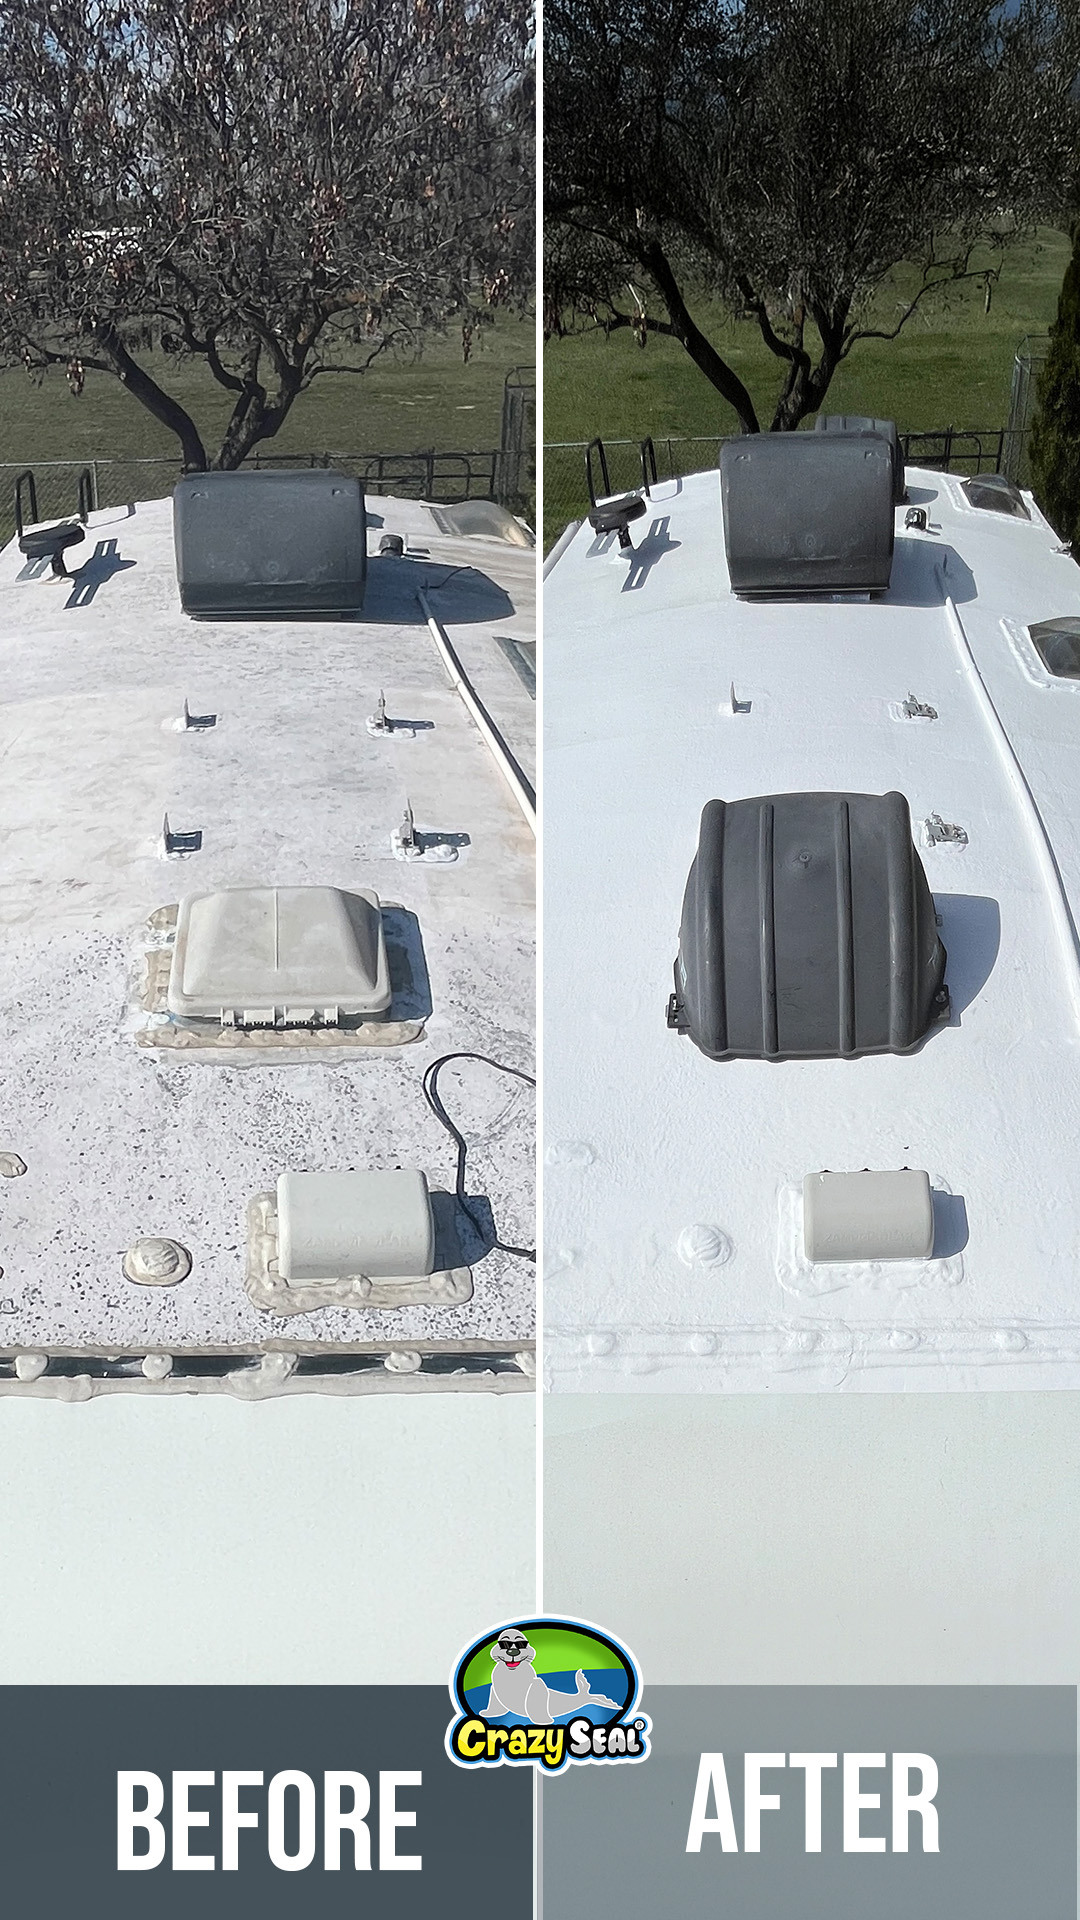
With clear directions and expert guidance from our team (shoutout to Mark for the support!), Gary rolled up his sleeves and tackled the install solo. Despite the expected messiness that comes with any hands-on job, he appreciated that once Crazy Seal was where it needed to be, it wasn’t going anywhere.
“The product is much harder to remove if not cleaned soon after misapplication—but on the flip side, it adheres very well on surfaces where it should be applied.”
The final result? A smooth, sealed, and durable RV roof is ready to handle the road ahead.
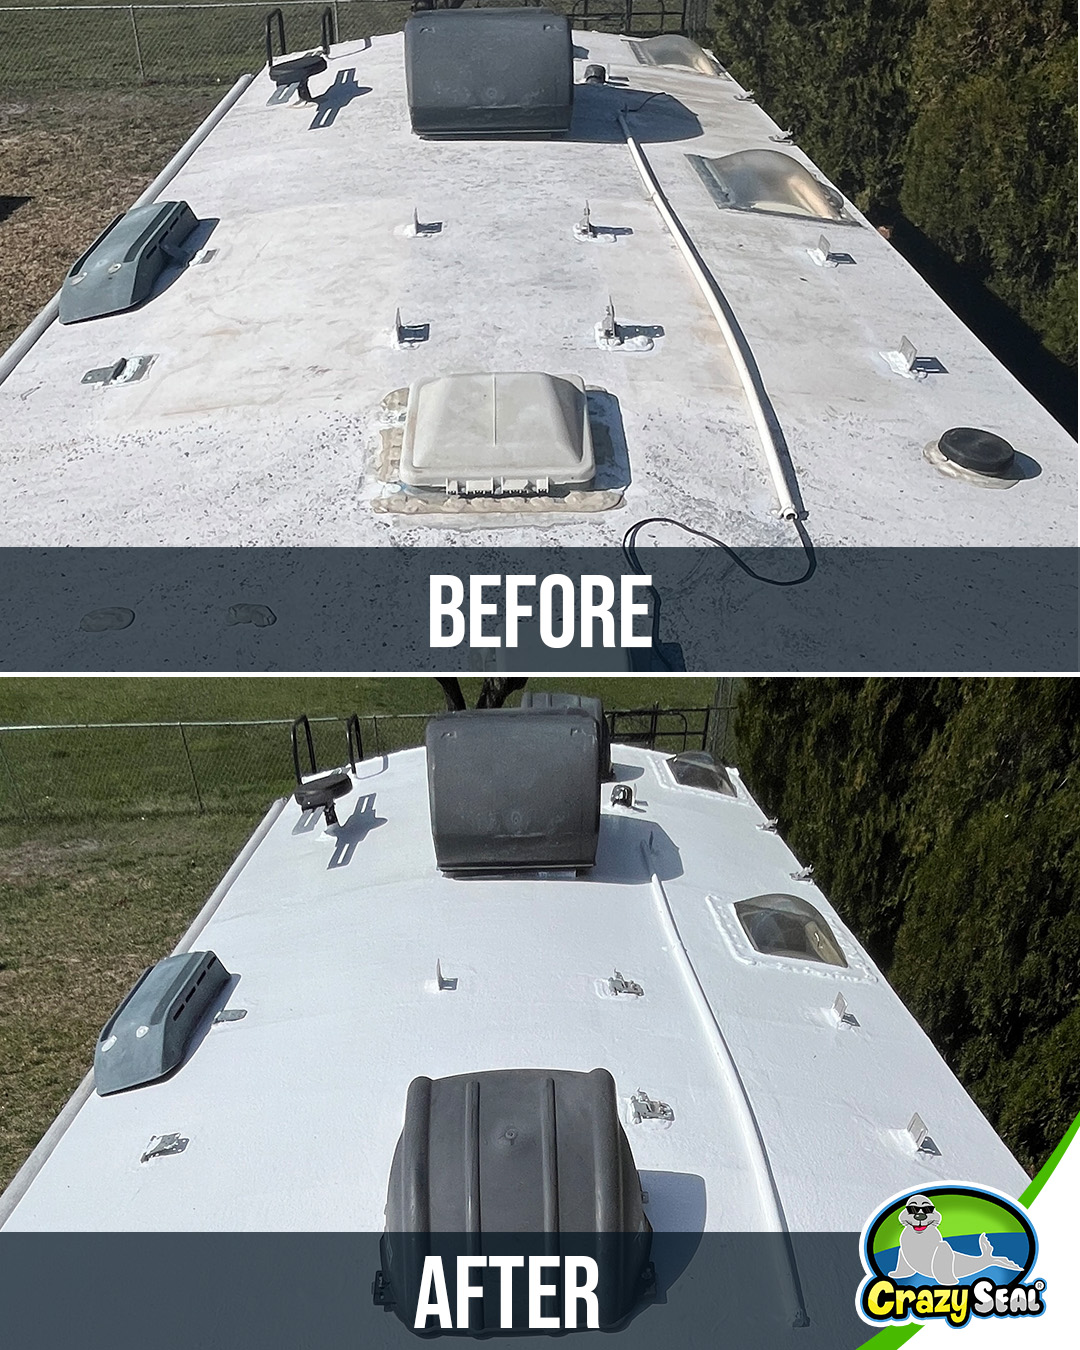
Why This DIY Project Stood Out
Gary’s install proves just how user-friendly our system can be. The learning curve is gentle, and the payoff is huge:
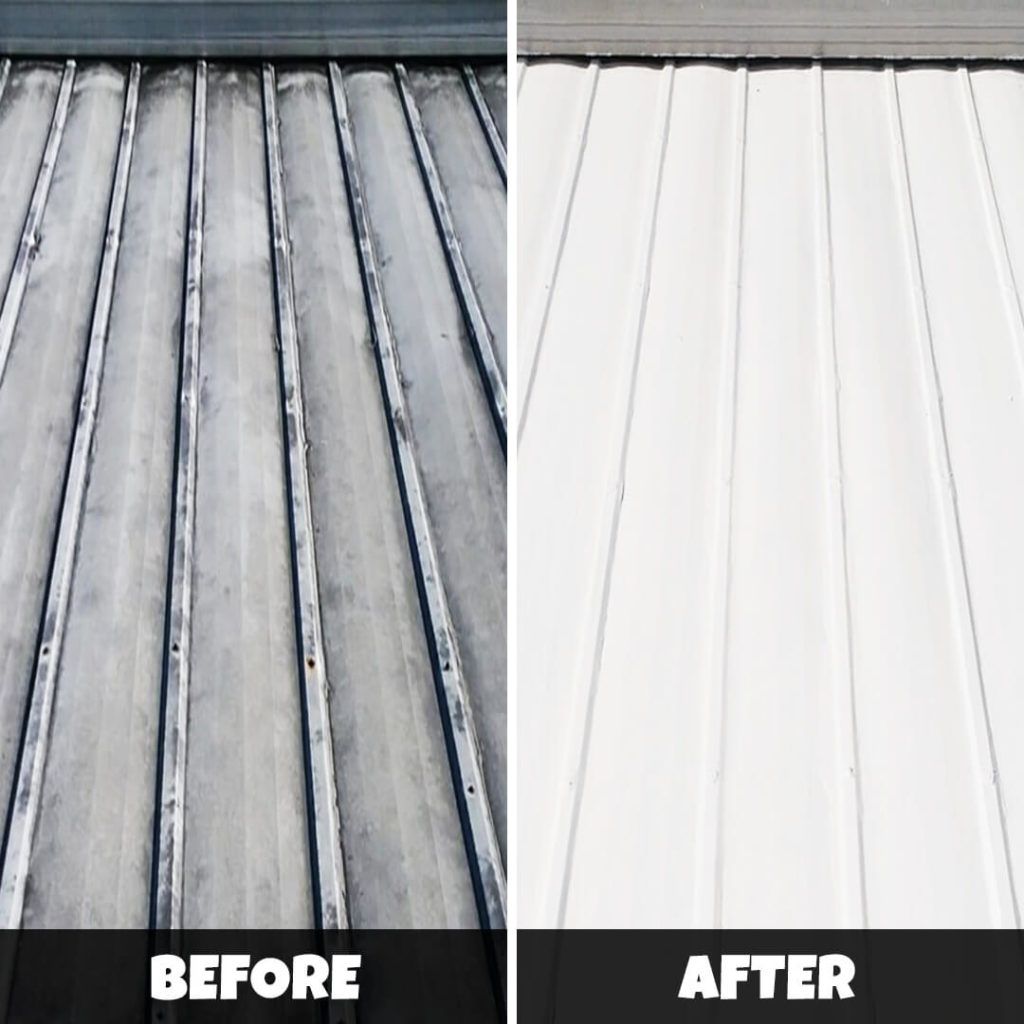
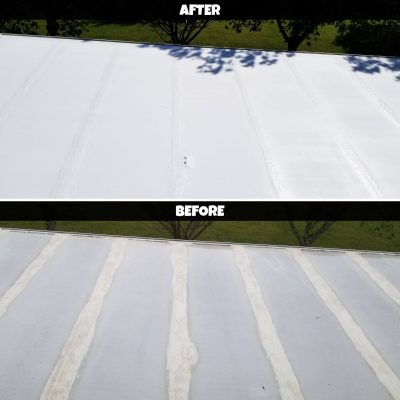
- Seamless, Leak-Proof Membrane – Fully bonded to the roof deck and ready for anything.
- DIY-Friendly Process – With accessible videos and detailed guides to walk you through.
- Adhesion You Can Count On – Built to last, even through harsh weather and road vibrations.
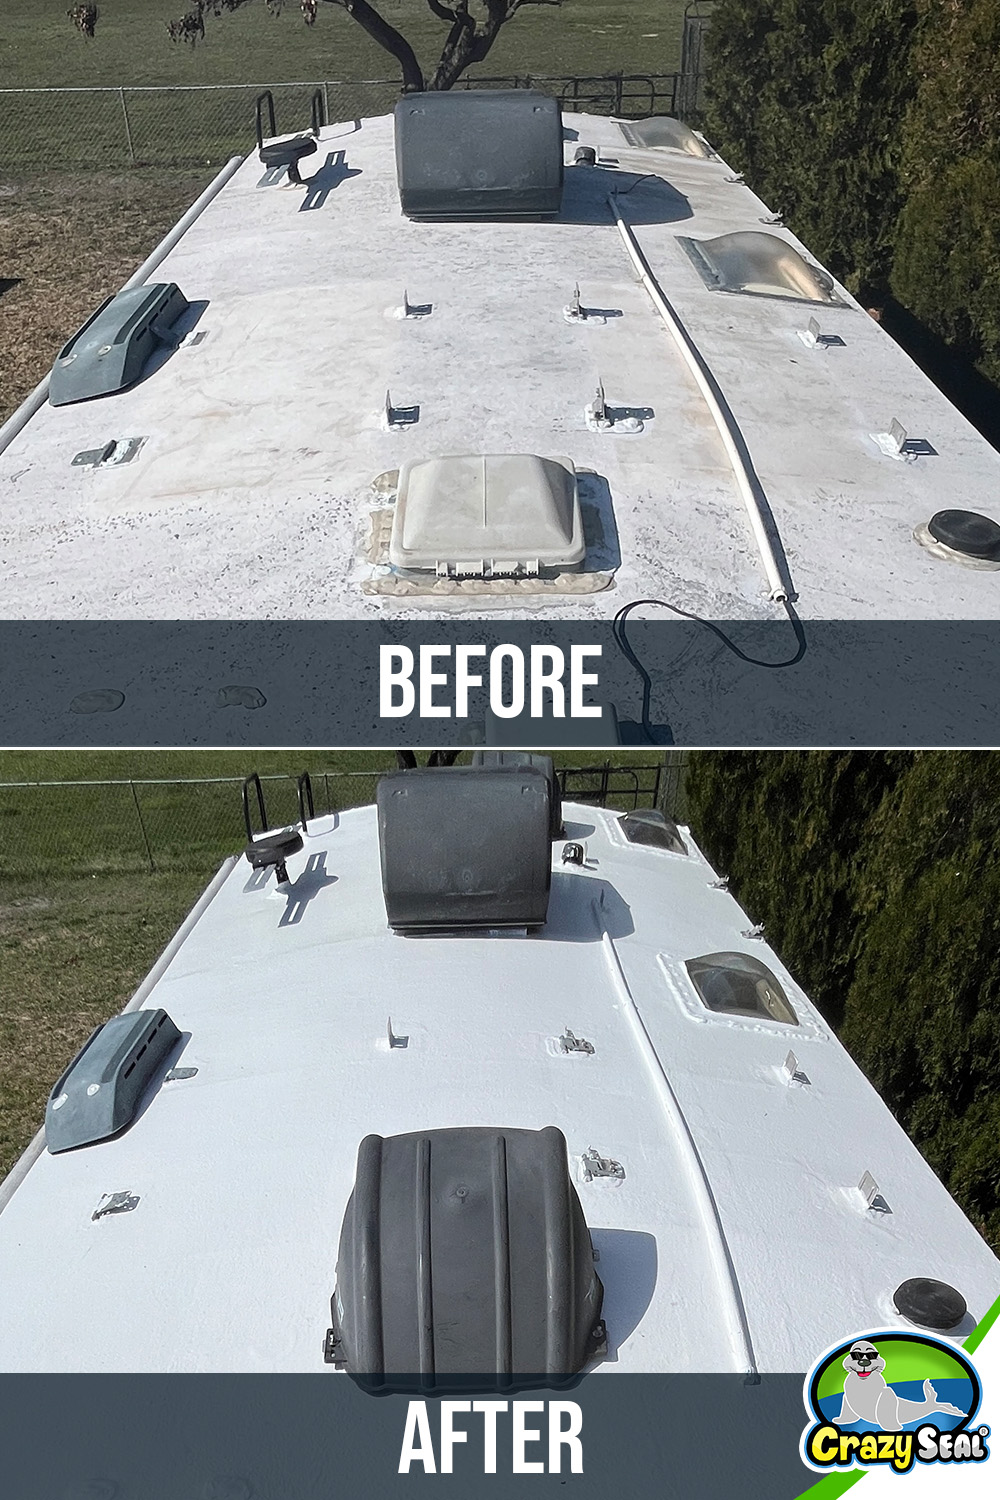
Inspired to Start Your Own Project?
Whether you’re restoring a camper, motorhome, or trailer, Crazy Seal makes it possible for any DIYer to get professional-grade results.
