

Project Details
- Project Type
- RV Roof – Self-Installed DIY
- Products Used
- (1) 3 Gallon Bucket of Crazy Seal + (1) 1 Gallon Bucket of Crazy Patch + (3) 25 FT Rolls of Crazy Tape + (2) 1 Tubes of Crazy Caulk
- Customer Type
- DIY Install
- Location
- Oregon
Project Photos
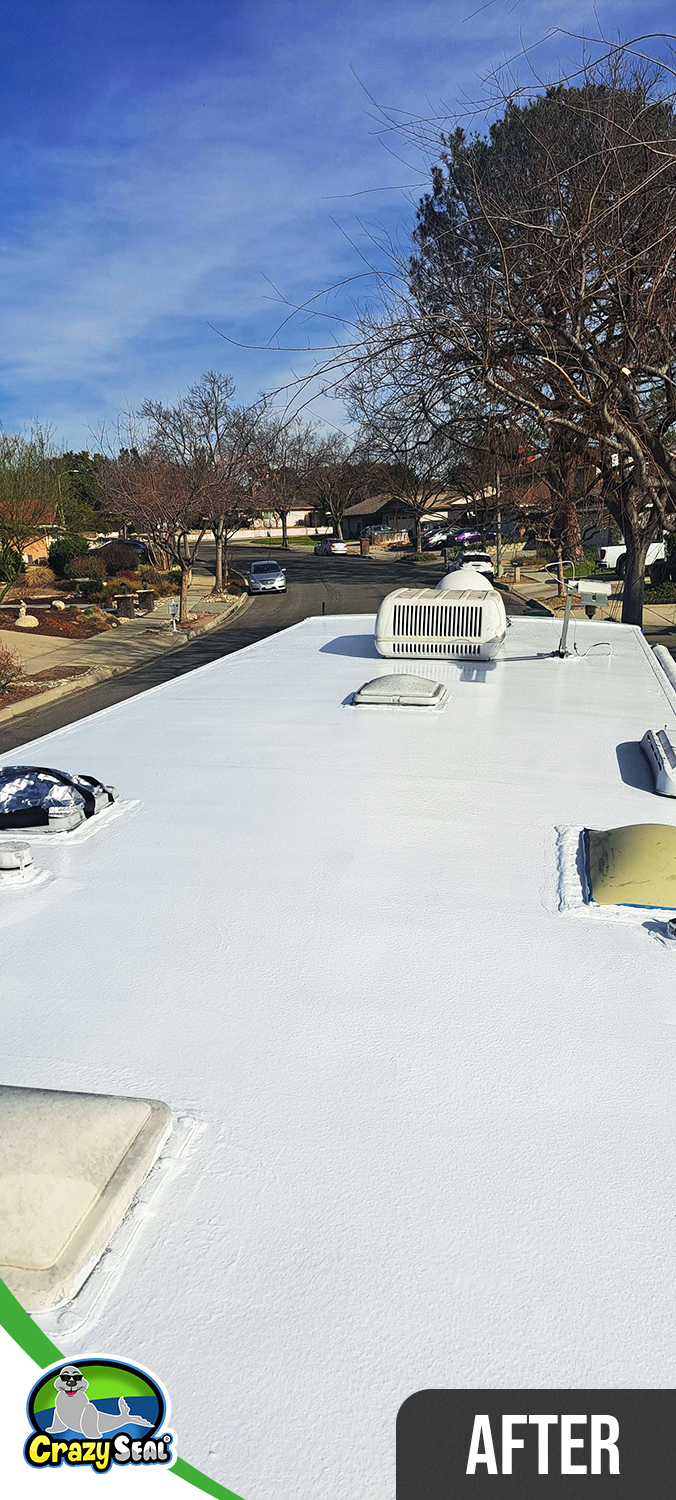
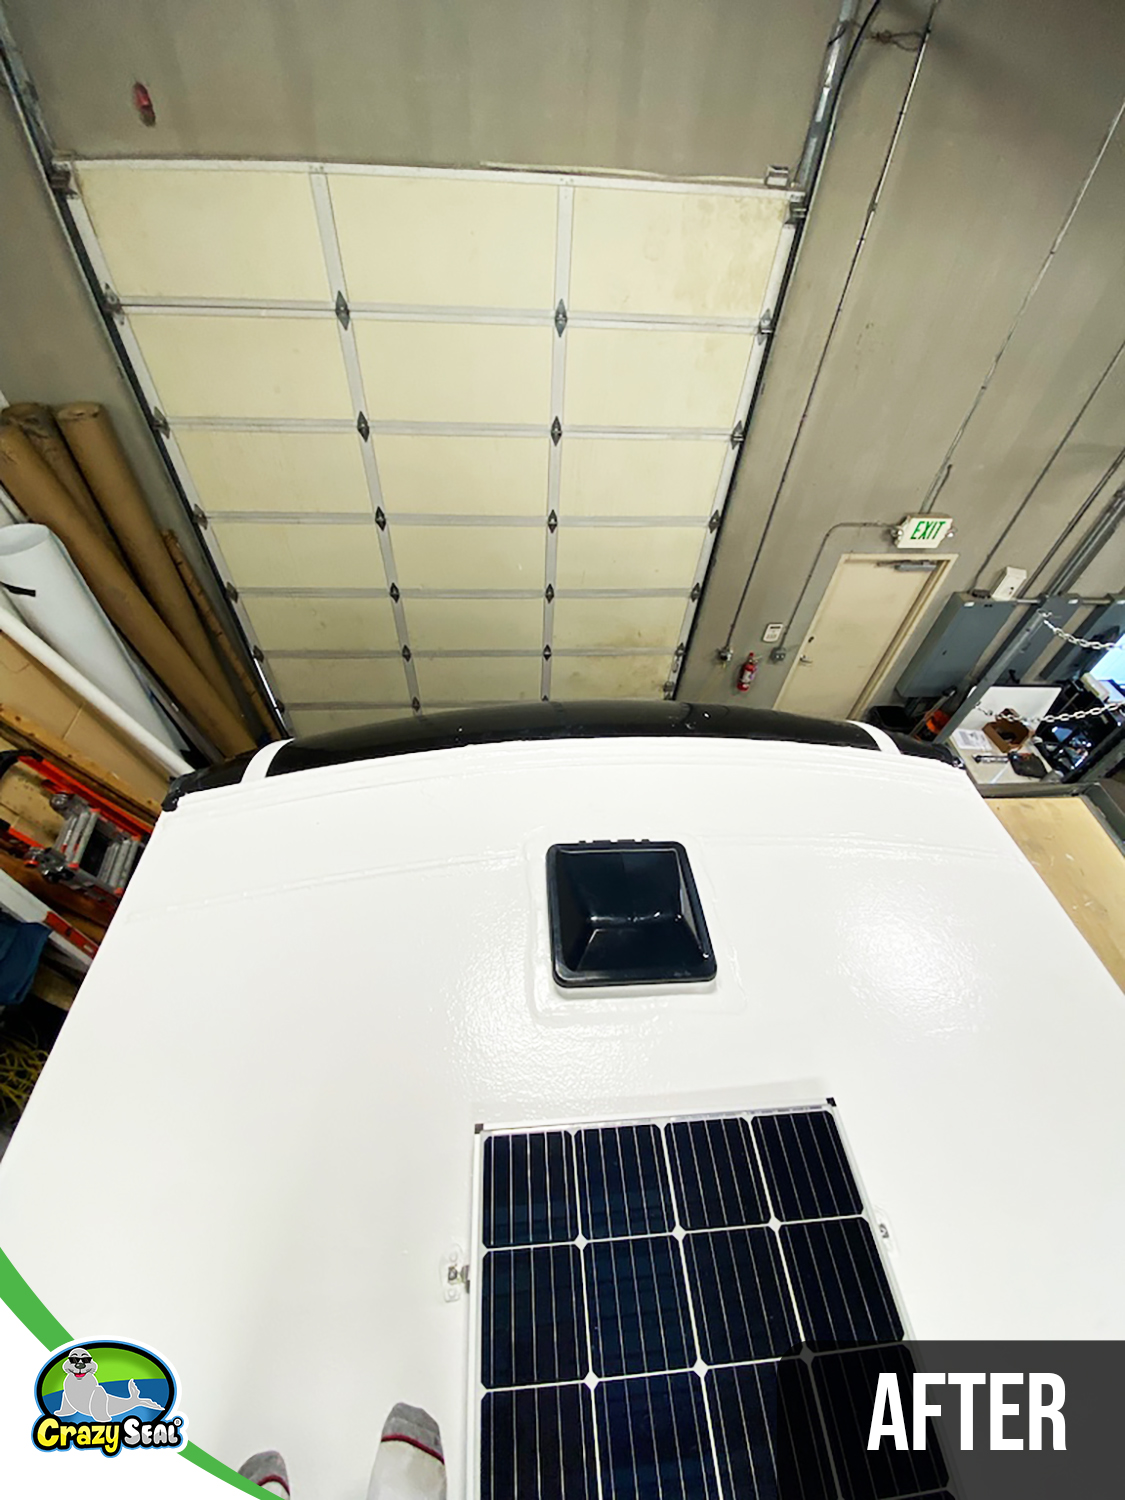
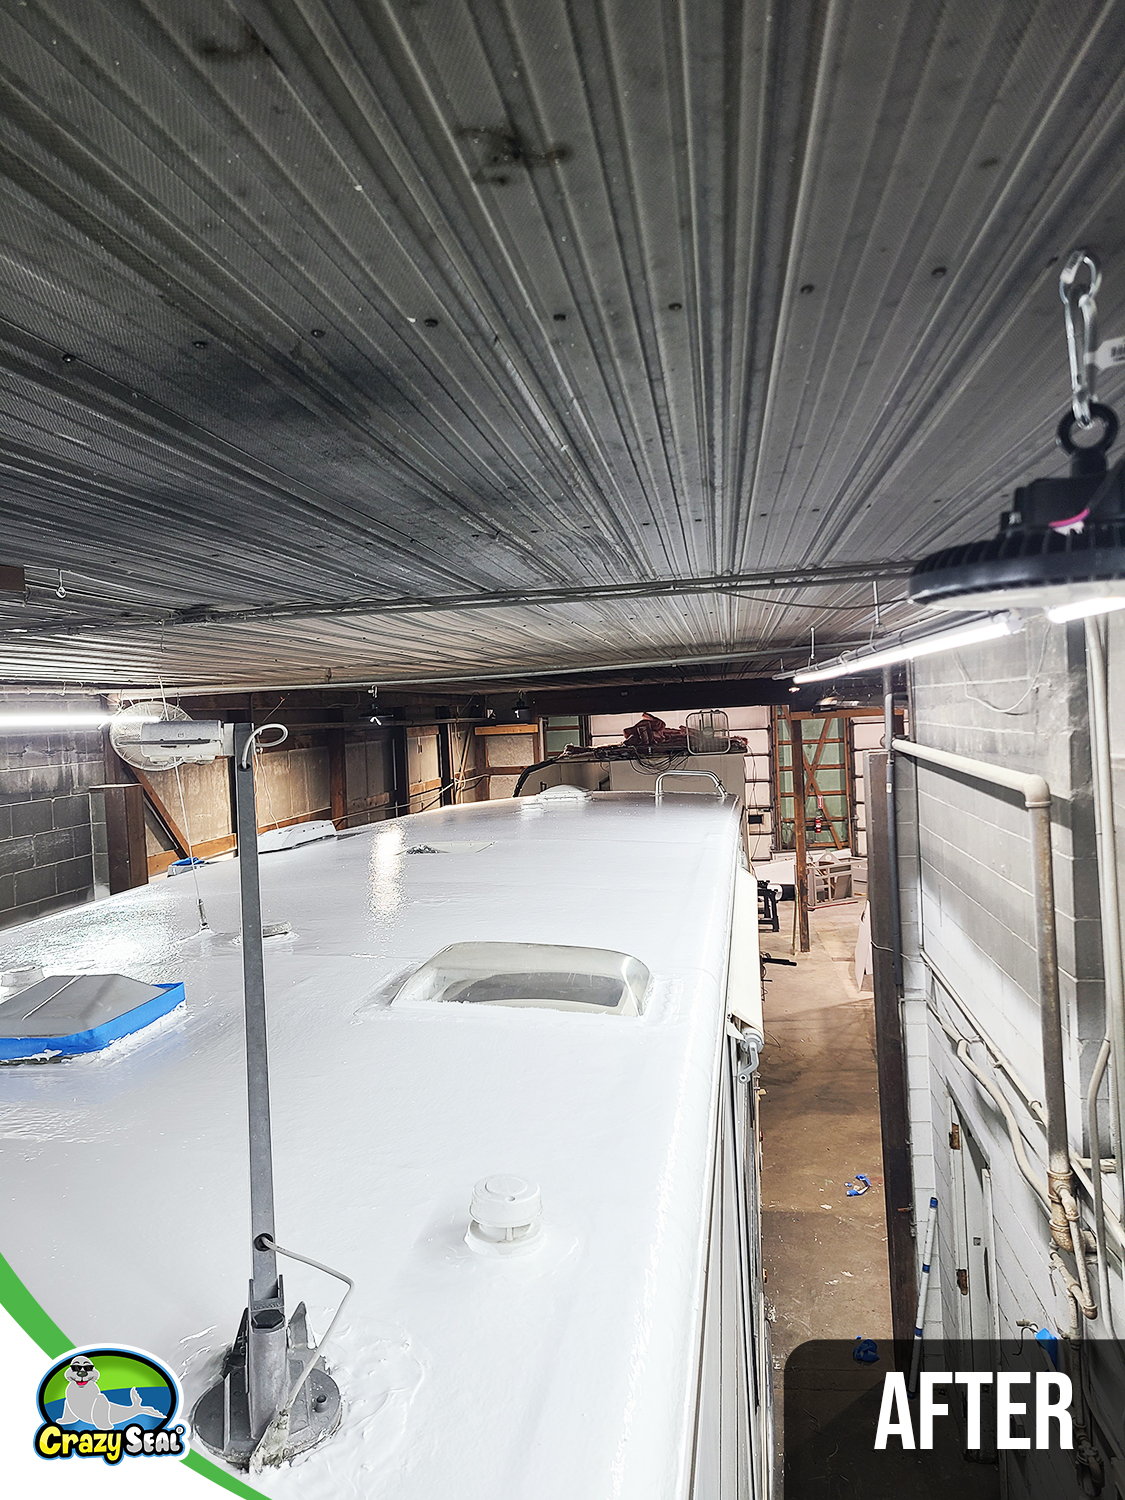
Click any image to scroll through the progress photos.
Project Spotlight: DIY Done Right – Joseph’s Road to a Worry-Free Roof
Precision, Patience, and a Roof Built to Last
Joseph approached his Crazy Seal project with a clear plan: do it right, and don’t rush. Working half days, he took five days to prep the roof meticulously before spending the full weekend sealing it properly using Crazy Seal’s system.
The process wasn’t fast, but it was worth it. Joseph praised the instructional videos and product documentation for making each step easy to understand, and he had nothing but great things to say about the customer support team:
A Smooth Finish and Long-Term Confidence
By the end of the project, Joseph had achieved exactly what he set out to do: a sealed, watertight, and maintenance-free roof that looks fantastic and performs even better.
Thanks to his careful prep, clear instructions, and Crazy Seal’s fiber-infused waterproof membrane, this RV roof is built to handle it all—from rain and sun to time and travel.
Inspired to Start Your Own Project?
Joseph’s experience proves that when you pair smart planning with the right system, anyone can get professional-grade results. Ready to take on your own RV roof restoration?
Crazy Seal has everything you need—DIY kits, video guides, and hands-on support—to help you seal it right the first time.
“We’re confident it will last for years and years with no issues. We’re very happy with the end result and are looking forward to a worry-free, maintenance-free RV roof.”
Inspired to Start Your Own Project?
Pick a kit to get started, or talk to a Crazy Seal specialist about your application.
Do It Once. Do It Right.
A specialist builds the right kit for your roof — shipped to your door.