

Project Details
- Project Type
- RV Roof – DIY Installation
- Products Used
- (2) 1 Gallon Buckets of Crazy Seal + (1) Crazy Good Repair Kit
- Customer Type
- DIY Install
- Location
- Colorado
Project Photos
Click any image to scroll through the progress photos.
Project Spotlight: From First Penetration to Final Coat
Two Kits, One Fully Sealed Roof
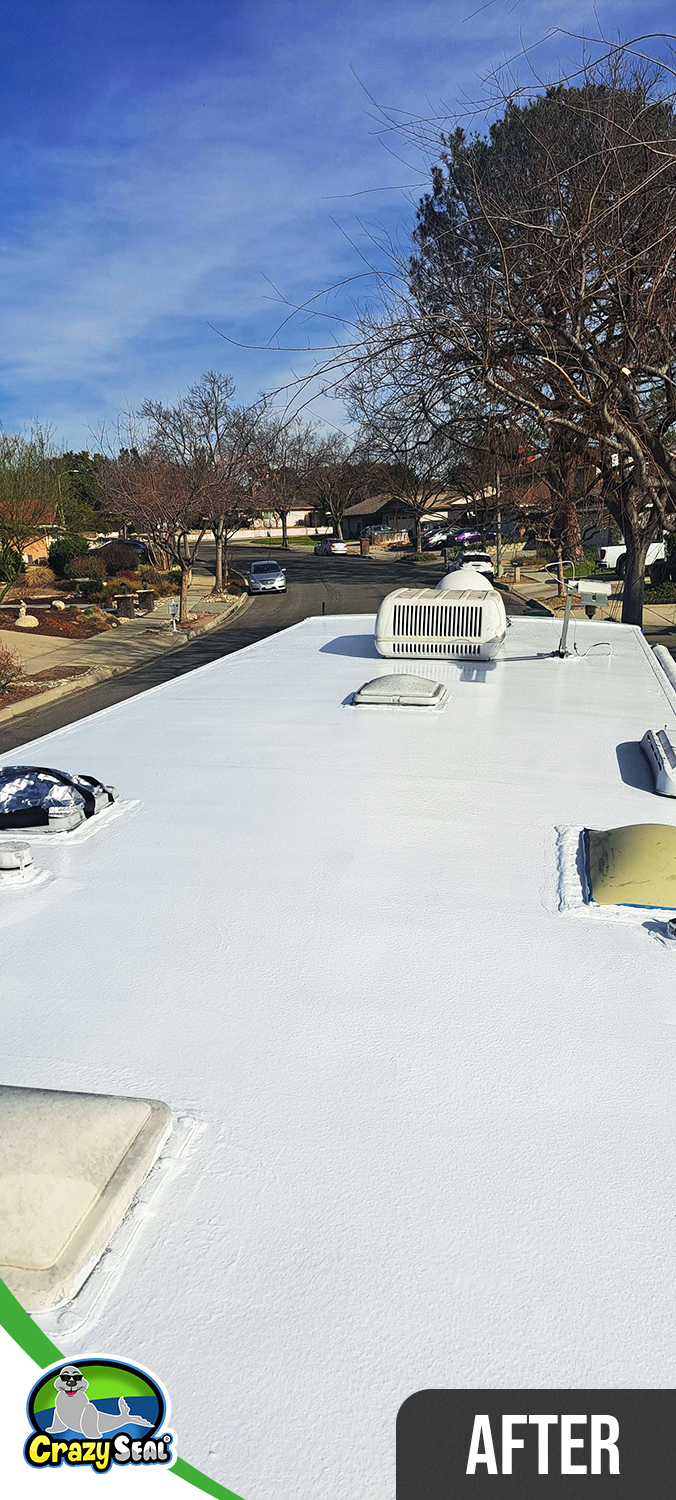
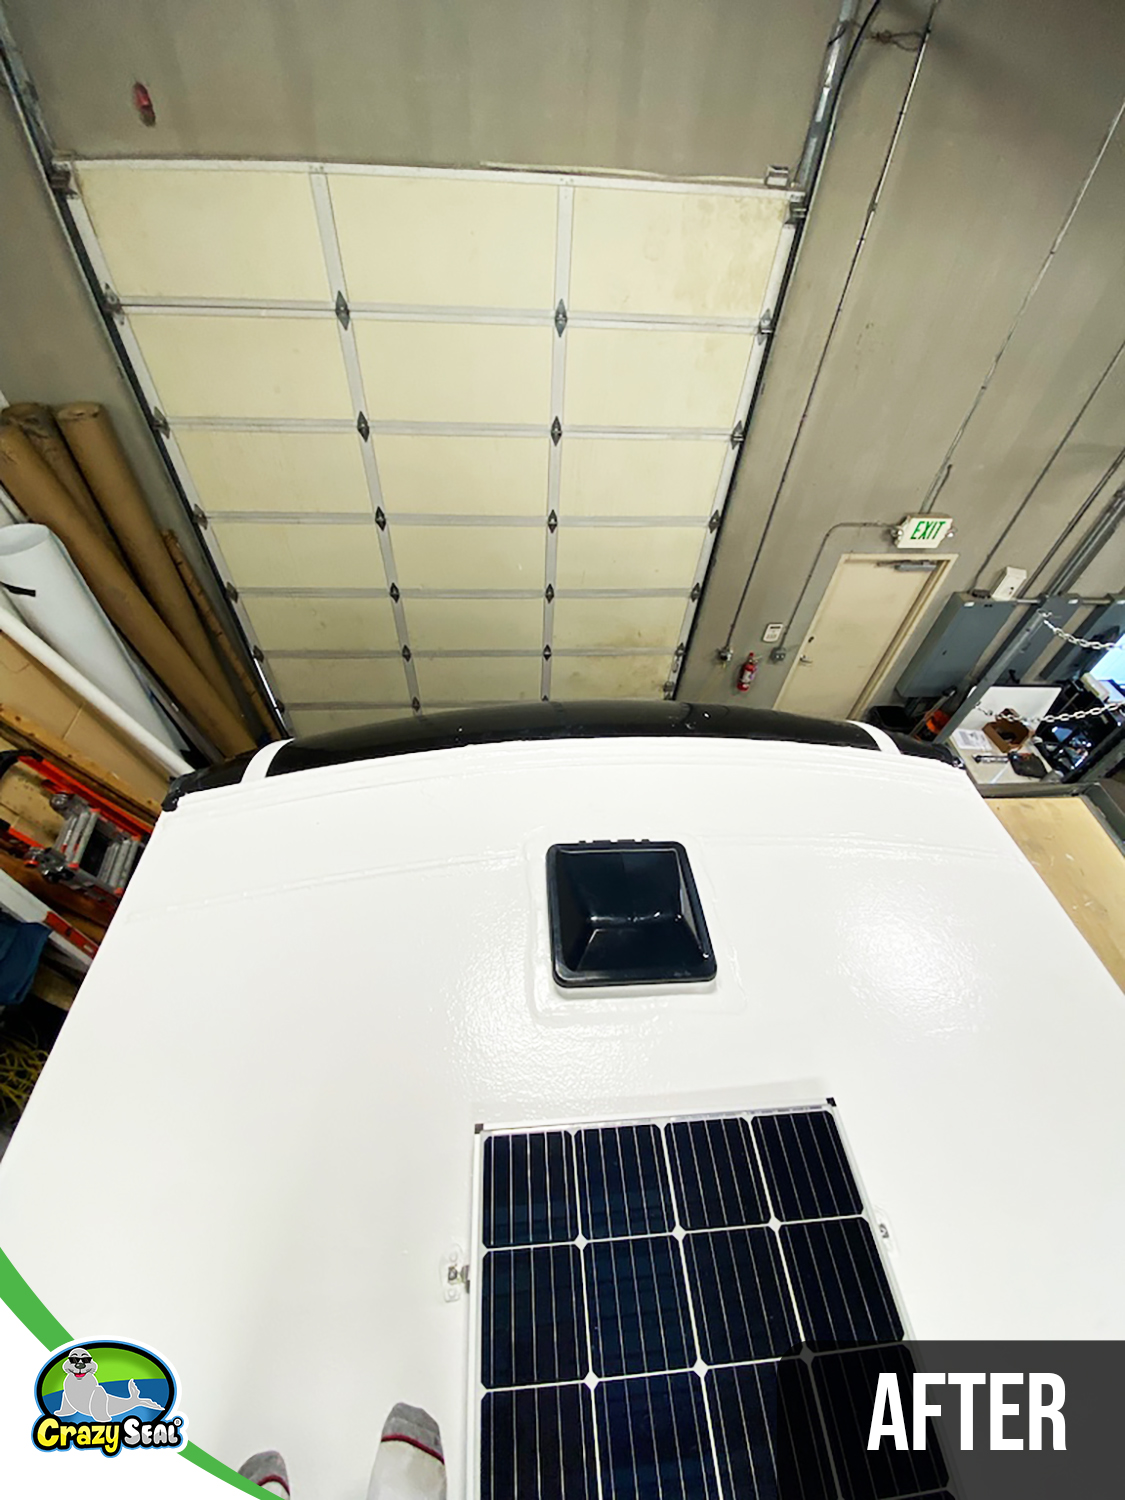
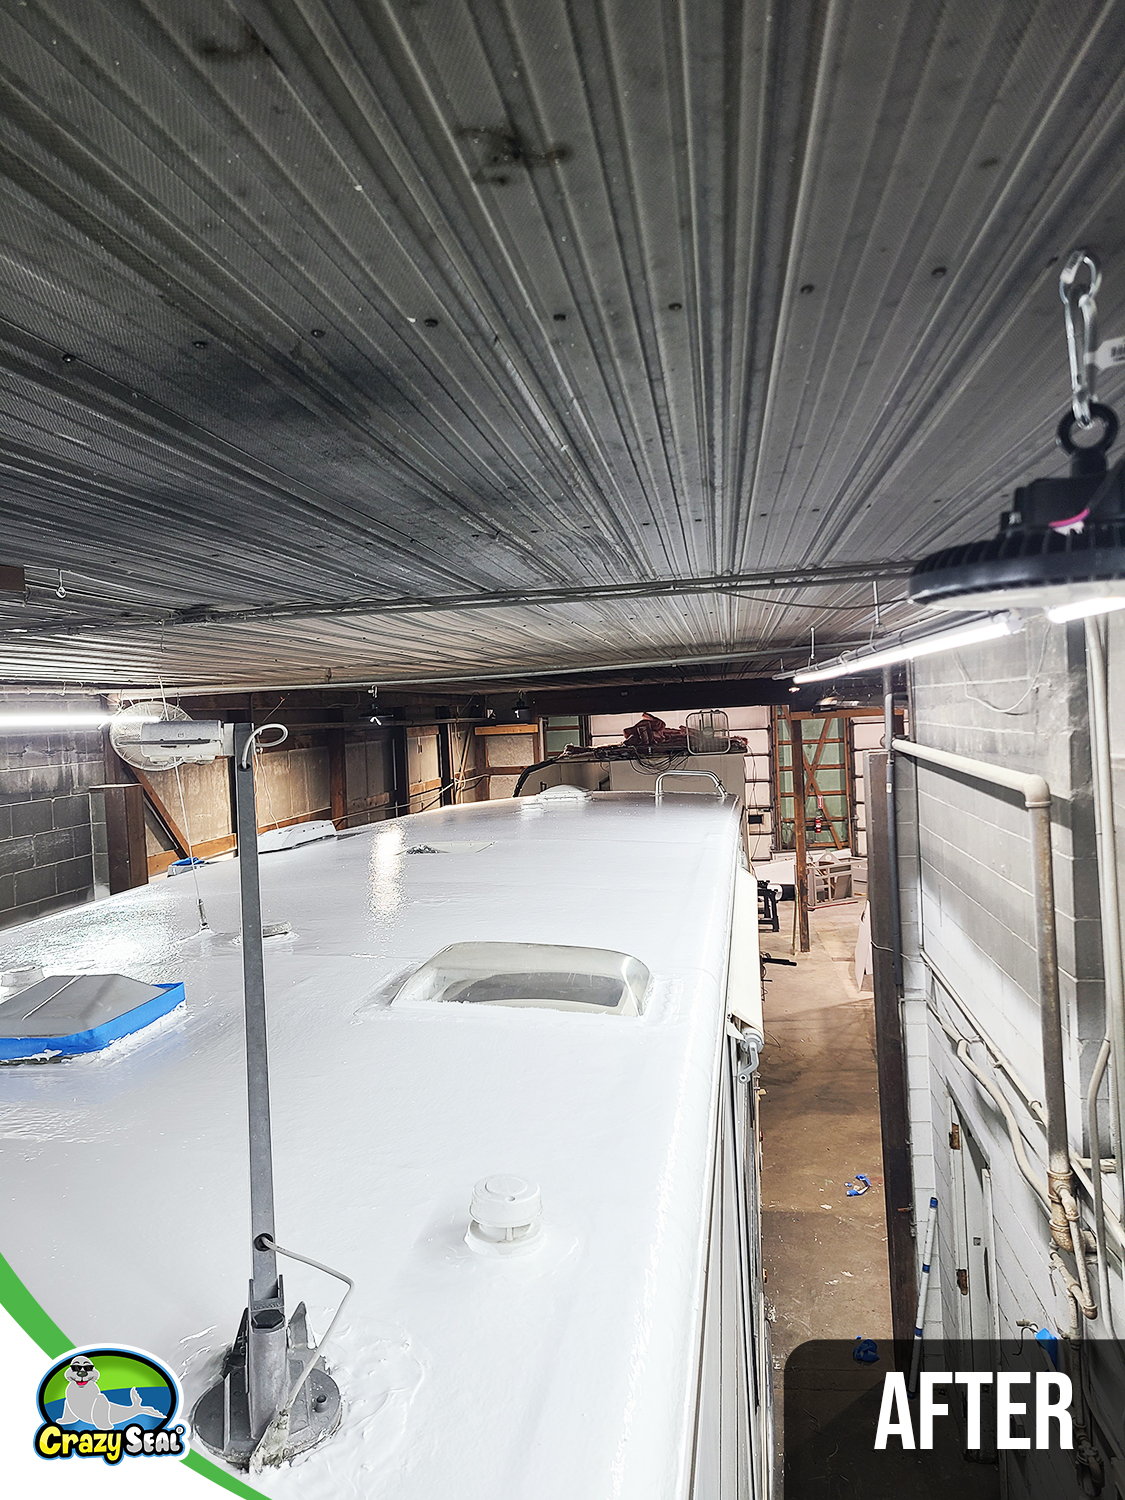
Dave took his time sealing his RV roof in stages, starting with penetrations using his first Crazy Seal kit and completing the full coating with a second.
He followed the full system carefully and coated every inch of the roof to deliver a solid, long-lasting finish. Even with minor quirks along the way, Dave made sure every step was done right—ending with a clean, continuous layer of protection.
Not Perfect, But Fully Protected
Dave’s final coat went down with success, though a few unexpected visitors left their mark.
Despite that, the roof is now completely sealed and protected with Crazy Seal’s flexible, watertight membrane. It’s a true DIY job, and Dave’s story is a reminder that even small imperfections can’t take away from the big picture—a leak-free RV roof that’s ready for the road ahead.
Inspired to Start Your Own Project?
Whether you’re a contractor or an RV owner, Crazy Seal makes it easy to achieve results that last. Ready to eliminate seams, stop leaks, and seal your rig for the road ahead?
“There are some bugs that decided to be part of the permanent repair unfortunately.”
Inspired to Start Your Own Project?
Pick a kit to get started, or talk to a Crazy Seal specialist about your application.
Do It Once. Do It Right.
A specialist builds the right kit for your roof — shipped to your door.