

Project #4017: DIY RV Roof Restoration Completed at Just the Right Time
- Texas
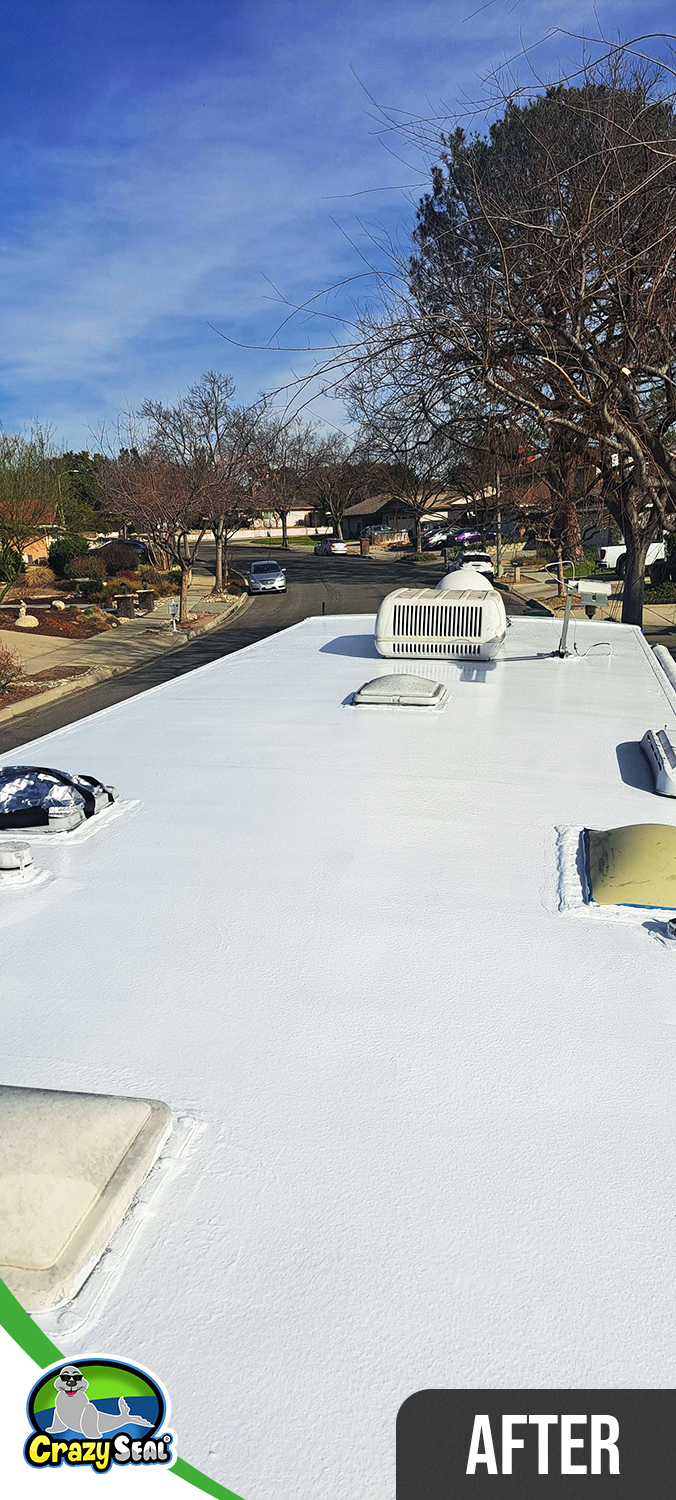
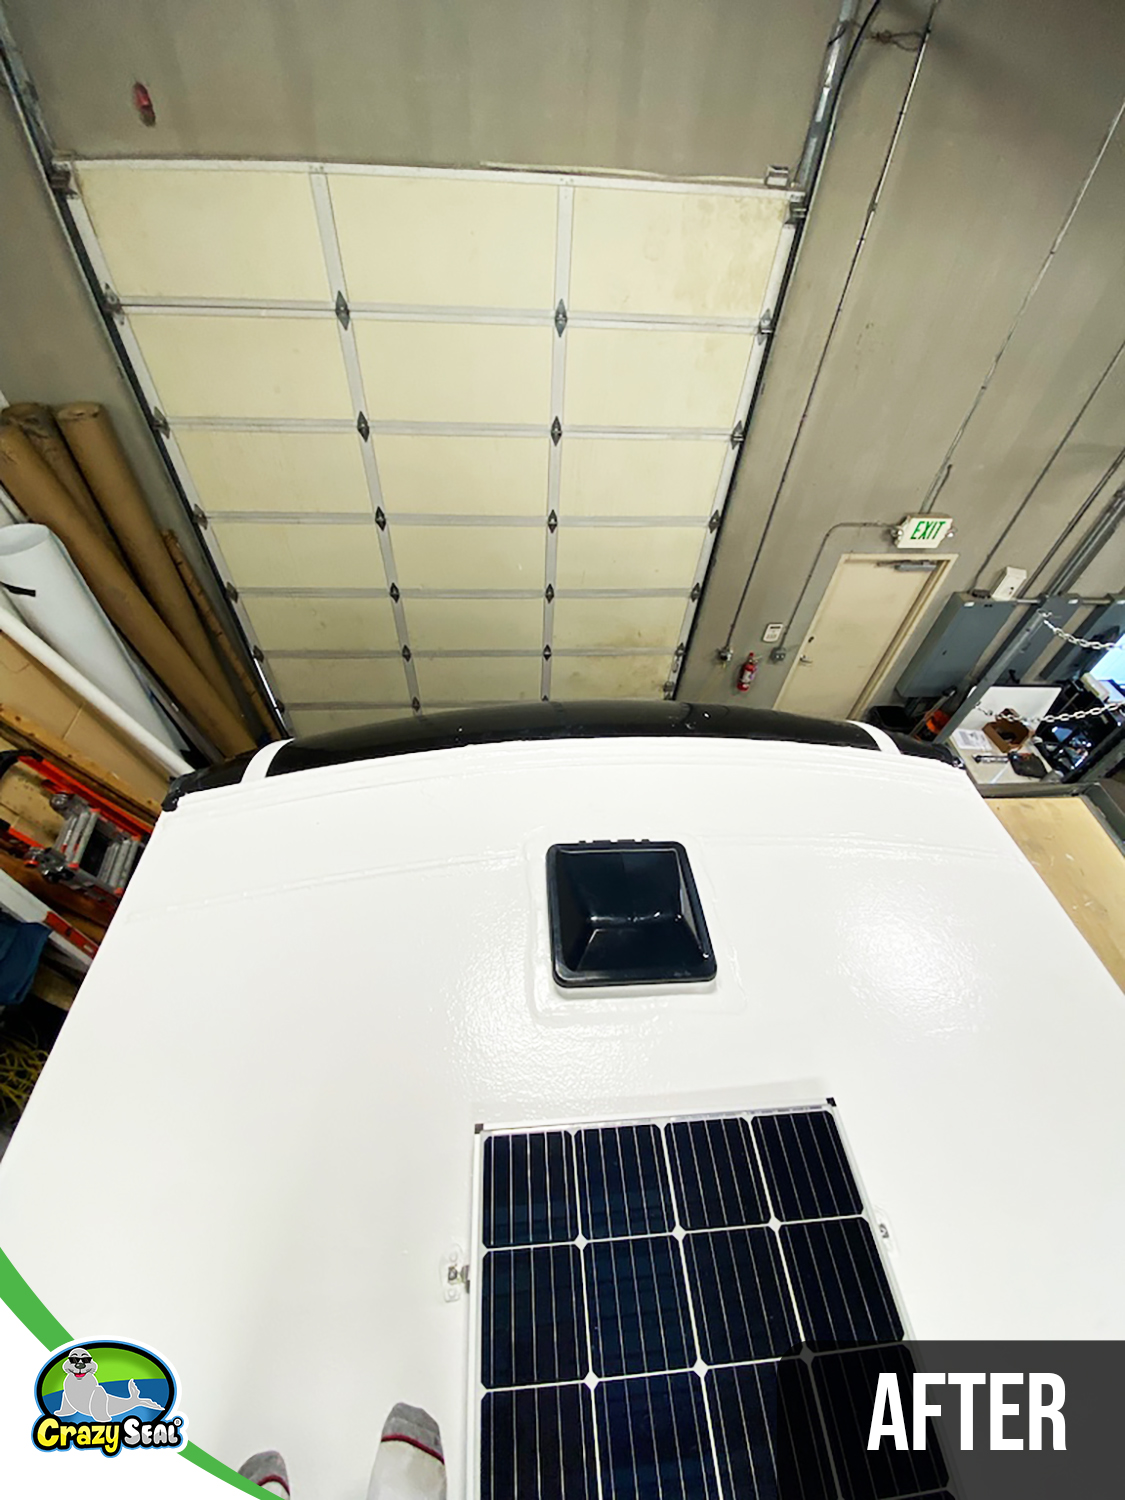
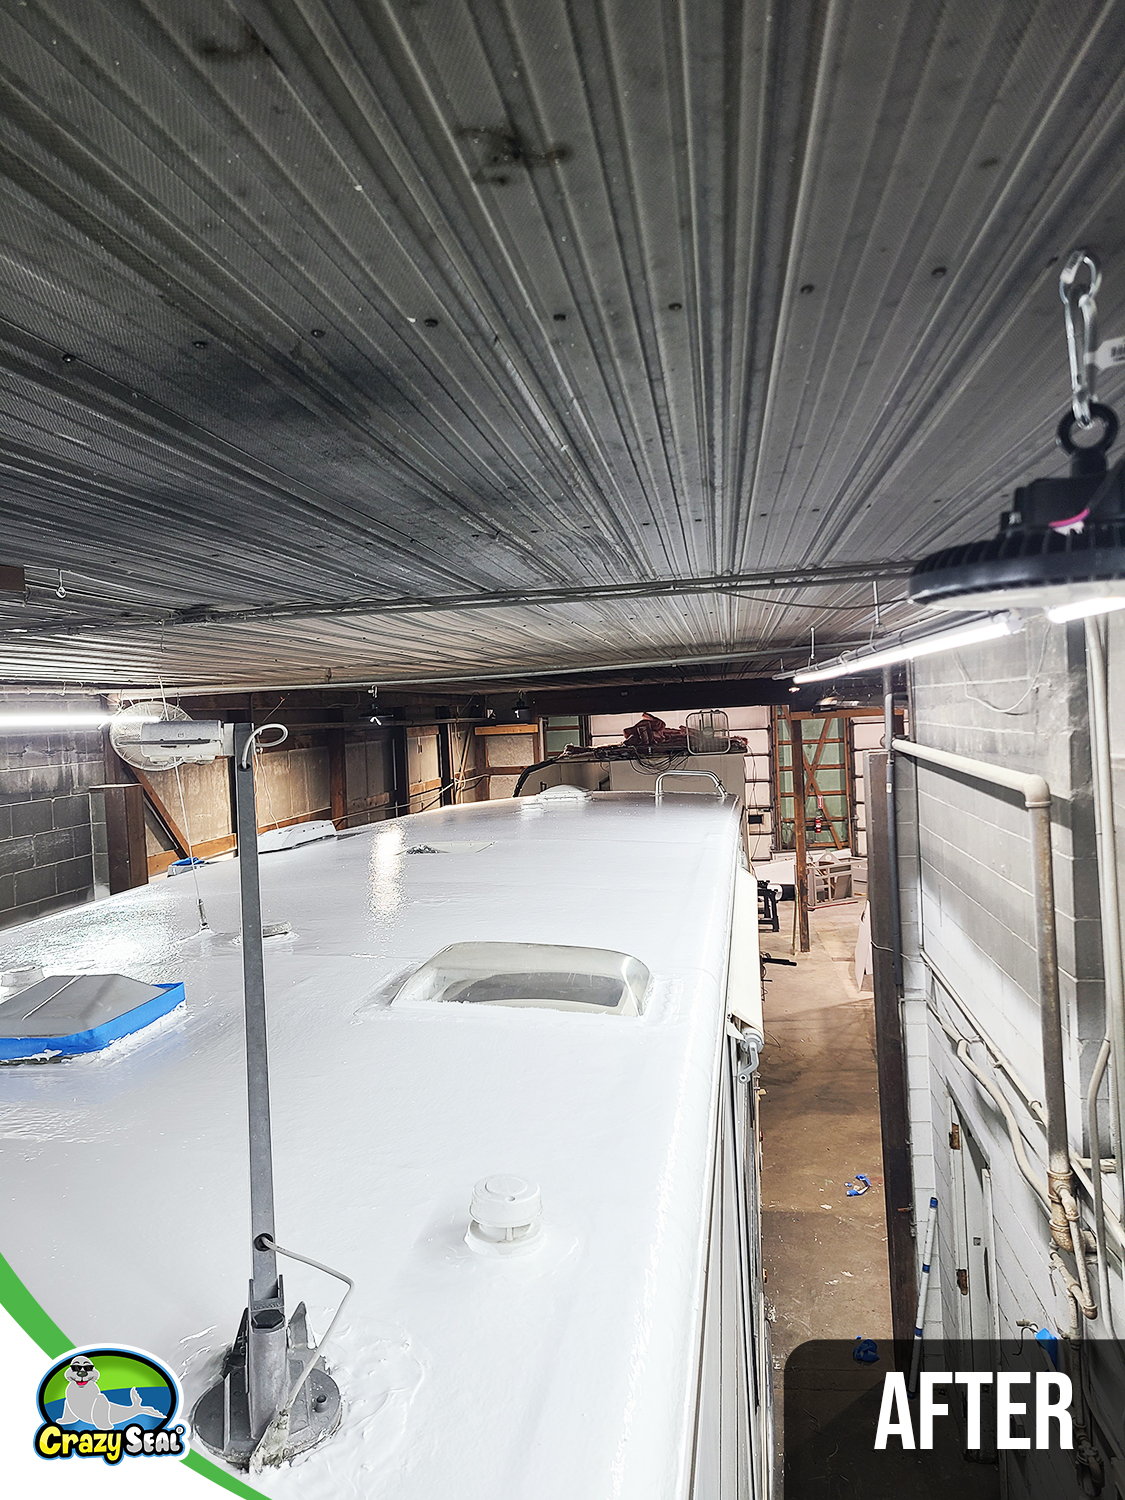
- 1 progress photo
Project Details
- Project Type
- RV Roof – Self-Installed DIY Restoration
- Products Used
- Crazy Seal Double Layer Kit
- Customer Type
- DIY Install
- Location
- Texas
Project Photos
Click any image to scroll through the progress photos.
Project Spotlight: From Delayed Start to Seamless Success
Perfect Timing, Perfect Results
Sometimes the hardest part of a project is waiting for the right conditions. For John, that meant putting his Crazy Seal roof project on hold during last year’s extreme heat. With temps soaring over 120 degrees, the timing simply wasn’t right. But this year brought cooler weather and dry skies—ideal for a successful install.
John shared with us.
Seamless Finish That Will Last for Years
With the right weather and Crazy Seal’s easy-to-use system, John sealed his RV roof edge-to-edge, creating a seamless, UV-resistant, and waterproof finish. No leaks, no worries—and no need to tackle this project again.
For John, the project was an investment in peace of mind: knowing his RV is now protected for many more adventures ahead.
Inspired to Start Your Own Project?
John proves that it’s never too late to take on your own RV roof restoration—and with Crazy Seal, it’s a project that delivers lasting results. Ready to tackle yours? We’ve got the tools, the system, and the support to help you do it right.
“It took 4 days and I’m glad I won’t have to do this again. I’m 80 now.”
Inspired to Start Your Own Project?
Pick a kit to get started, or talk to a Crazy Seal specialist about your application.
Do It Once. Do It Right.
A specialist builds the right kit for your roof — shipped to your door.